
Adding electricity to your gun safe can be a game-changer. With power inside your safe, you can plug in interior lights, dehumidifiers, watch winders, and even charge electronics securely. Many older Liberty gun safes (especially those built before built-in outlets became common) don’t have a power outlet – but the good news is you can easily install one yourself using the Liberty Safe Electrical Outlet Kit.
In this guide, we’ll walk you through a step-by-step process to upgrade your safe with a power outlet in a clear, friendly way. We’ll cover what the outlet kit is, compatibility differences between older and newer safes, the tools you’ll need, and detailed installation instructions. Along the way, we’ll point out common pitfalls (like avoiding stripped screws or torn safe linings) and share safety tips so your DIY project goes smoothly. By the end, you’ll have a powered-up safe ready for all your accessories – let’s get started!
What Is the Liberty Safe Electrical Outlet Kit?

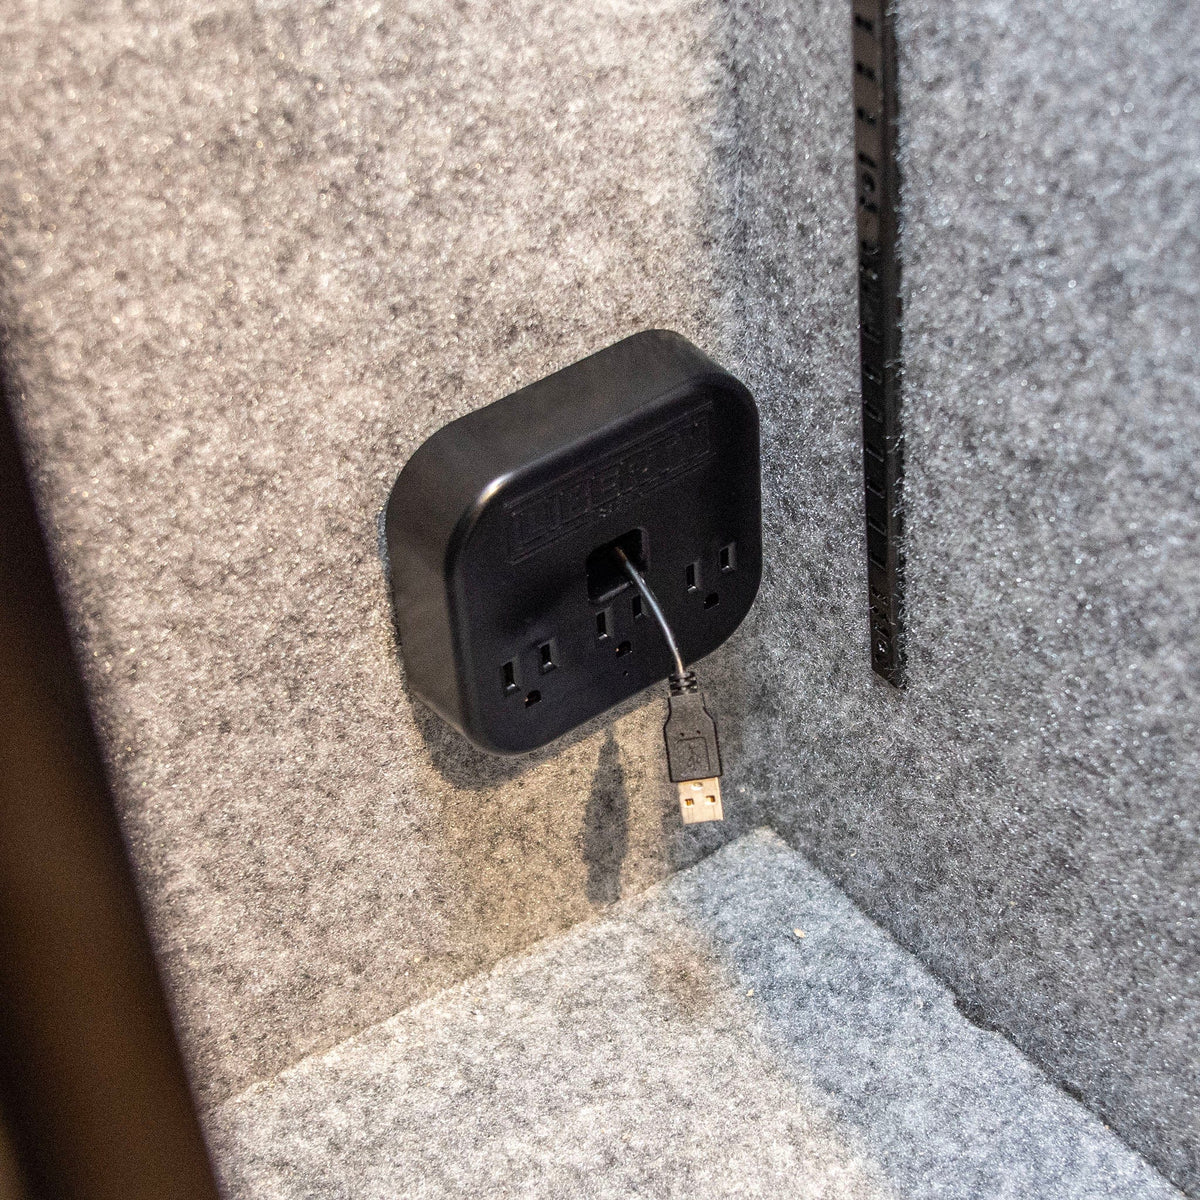
The Liberty Safe Power Outlet Kit is a small power strip designed for safes that provides a convenient way to run electronics inside a gun safe. This multi-functional kit features three standard 110-volt outlets, plus built-in USB and CAT-5 Ethernet ports for charging devices or connecting safe alarms/network cables.
The kit also includes a pass-through hole specifically designed for Liberty’s Safelert monitoring device antenna. In other words, it’s not just a basic outlet strip – it’s made for safes and lets you power dehumidifiers, interior lighting, hard drives, laptop chargers, and more right inside the safe.
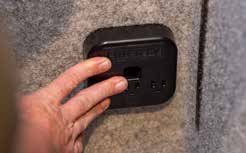
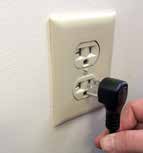
The kit comes with an external 6-foot power cord (with a low-profile 90° plug for tight spaces) that supplies the interior outlets. A small LED indicator on the outlet module lets you know when it’s powered (typically a small blue light at the bottom).
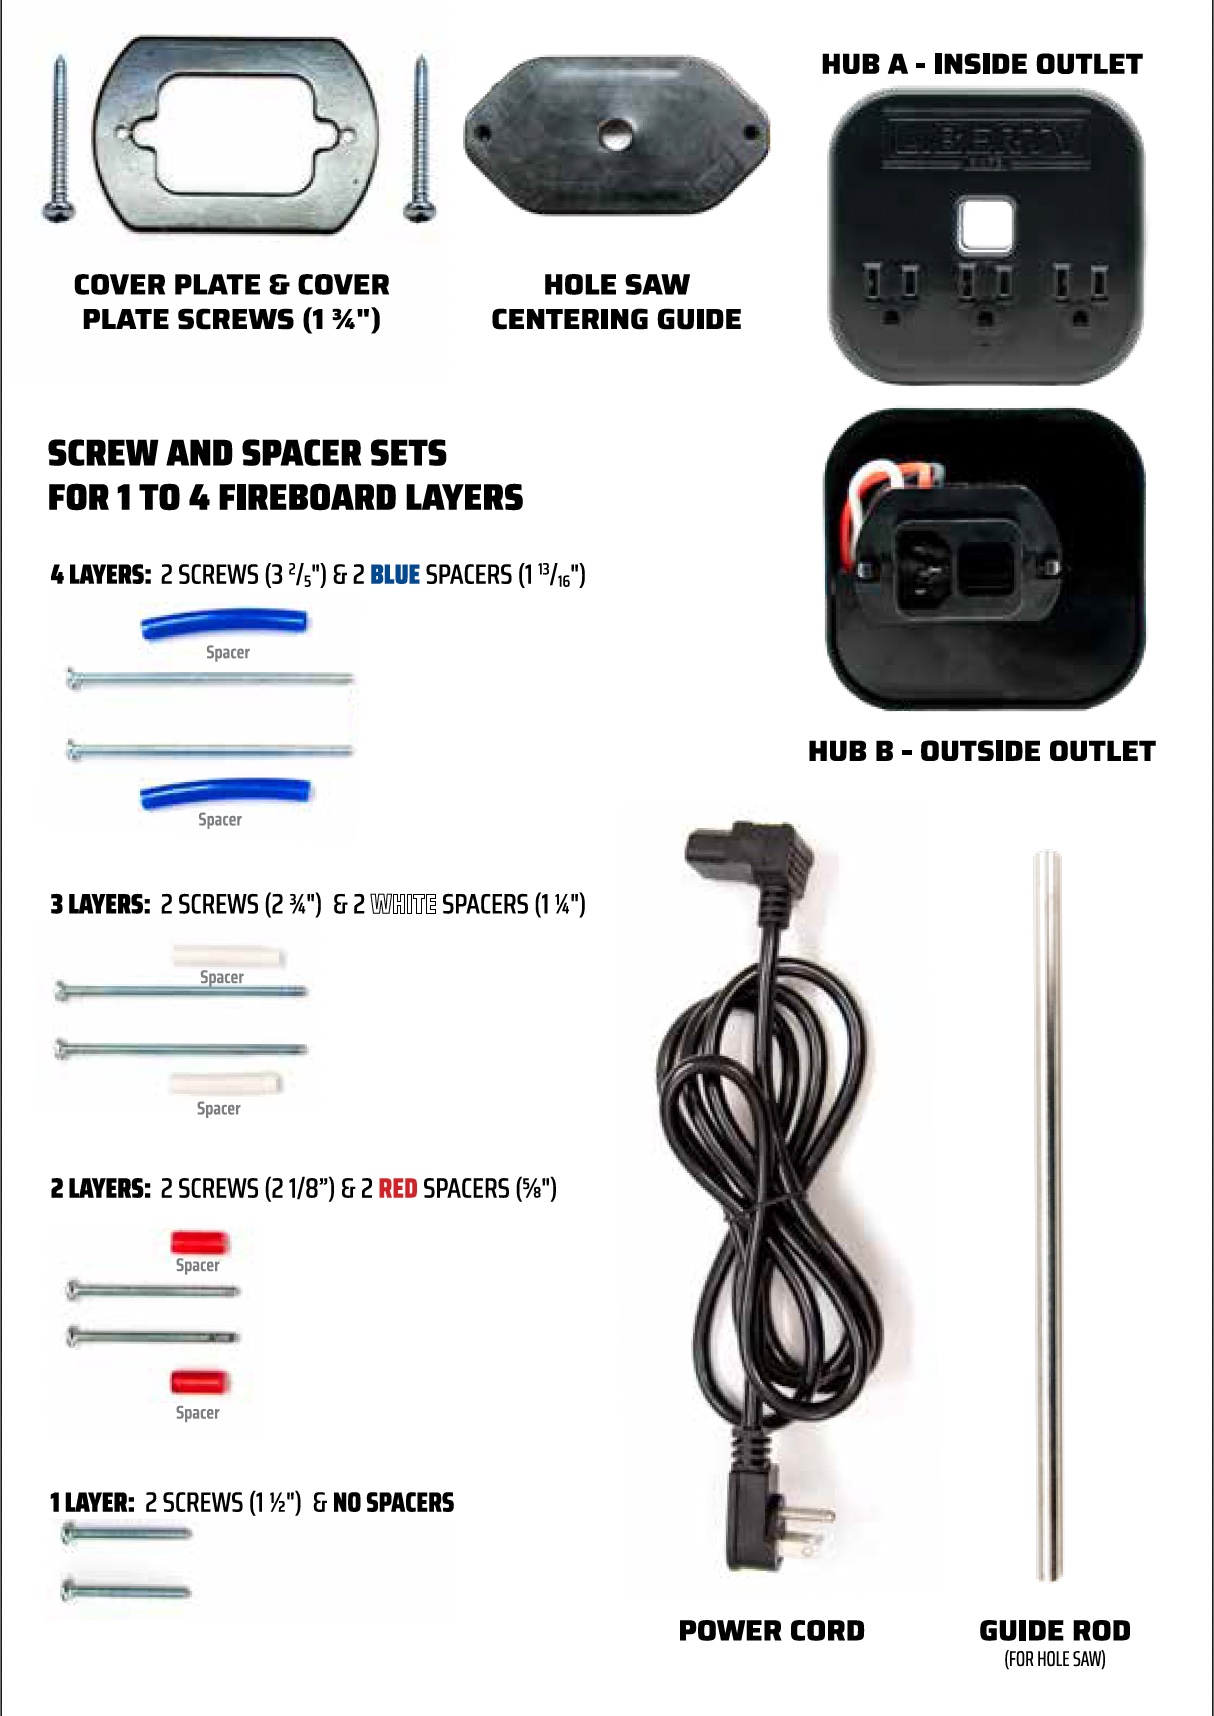
Importantly, the Liberty outlet kit is designed to fit various safe wall thicknesses – it comes with mounting hardware and spacers so you can adjust it for one or multiple layers of fireboard insulation inside your safe. The kit is affordable, easy to install, and made by Liberty specifically for retrofitting their safes. In the box you’ll find the outlet module itself, a detachable power cord, and a baggie of screws and spacers for installation. Everything you need to upgrade your safe’s power capabilities is included, aside from a few basic tools.
Compatibility: Older vs. Newer Liberty Safes (Pre-Cut vs. Non-Prepped)
Before diving into the installation, it’s important to understand how your safe’s age and model affect the process. Liberty has been forward-thinking in making their safes “outlet kit ready,” but the approach has changed over time:
- Safes Made After April 2007: These typically include a pre-cut template in the steel wall. If your safe was built after this date, it likely has a circular knock-out panel for the outlet kit – no need to drill through solid steel.
- Safes Made After April 2014: Many newer models also include a pre-cut interior fireboard (gypsum insulation). High-end models like the Franklin or Presidential may come with the outlet kit already installed, while mid-range models might just have the pre-cut hole covered by interior fabric. If so, you’ll just cut the fabric to reveal it – no drilling required.
- Older Safes (Pre-2007 or Early Models): These may not have any pre-made knock-out. You’ll likely need to drill through the safe’s inner wall and potentially steel (a more advanced task). Most safes made in the past couple of decades, however, do include the steel prep for outlet kit installation.
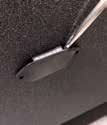
How can you tell what you’re dealing with? Open your safe and check the back wall (typically the lower right corner) for a black plastic cap or a faint circular outline under the fabric. That’s usually where the outlet kit goes. If it’s pre-cut, installation will be much easier.
Tools and Materials You Will Need
Kit Materials
Installing the outlet kit is a straightforward DIY project. Here’s what you’ll need:
- Liberty Safe Electrical Outlet Kit
- Electric drill – preferably with adjustable speed
- Hole saw (2¾″ or 3″)
- ¼″ drill bit
- Phillips head screwdriver – for hand-tightening the mounting screws
- Flat-head screwdriver or pry tool
- Utility knife
- Marker (Sharpie)
- Vacuum cleaner
- Work gloves and eye protection
- A helper (optional, but recommended)
Also, be sure to empty your safe near the work area and move it away from the wall for easier access. The outlet kit adds about 1.25″ of depth, so you might need to re-adjust anchor bolts later.
Step-by-Step Installation Guide
Estimated Time: 1 Hour
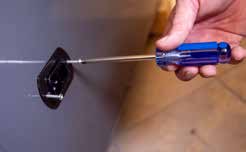
- Remove the back cover plate inside the safe using a flat-head screwdriver (gently pry from a top corner).
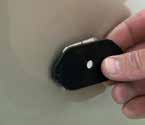
- Check if fireboard is blocking the hole. Insert the centering guide from the outside to check.
- If blocked, use a ⅜” drill bit through the guide hole and all fireboard layers.
Caution: Stop drilling once through to avoid damaging the fabric. - Locate the hole from inside the safe — usually about 6.5″ from the floor in the bottom back-right corner.
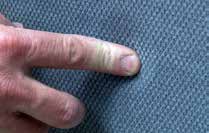
- Cut a small “X” in the safe fabric at the hole location using a utility knife.
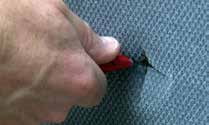
- ***If your safe already has a 3″ hole (models after April 2014), skip to step 14.***
- Remove the drill bit from your hole saw and insert the included guide rod.

- From inside, push the guide rod through the hole and into the centering guide outside.
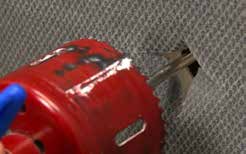
- Use the hole saw as a stencil and trace the circle on the interior fabric
.
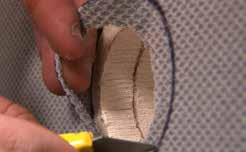
- Carefully cut and remove the traced fabric circle.

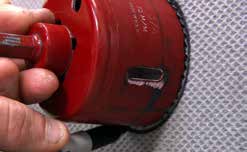
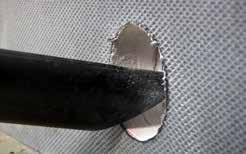
- Reinsert the hole saw. Make sure the teeth won’t snag fabric.

- Begin cutting the 3″ hole through the fireboard.
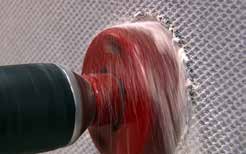
If there are 3 or 4 layers, you may need to remove one or two disks partway through.
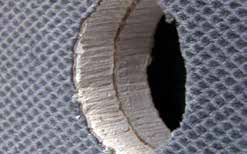
- Use a vacuum to clean debris.
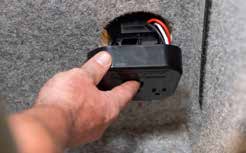
- Insert Hub B (external outlet) through the hole from the back of the safe.
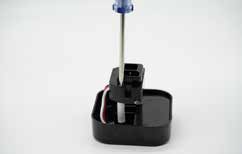

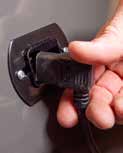
- Inside the safe, connect the cord from Hub A (internal outlet) to Hub B.
-
- Use the correct spacer and screw set based on the number of fireboard layers:
- 4 layers: ¾” screws with blue spacers
- 3 layers: 2⅜” screws with white spacers
- 2 layers: 2⅛” screws with red spacers
- 1 layer: 1½” screws, no spacers
- Use the correct spacer and screw set based on the number of fireboard layers:
- Tighten screws with a hand screwdriver (not power drill) to avoid stripping.
- Attach the cover plate with included screws.
- Plug the external power cord into a wall outlet.
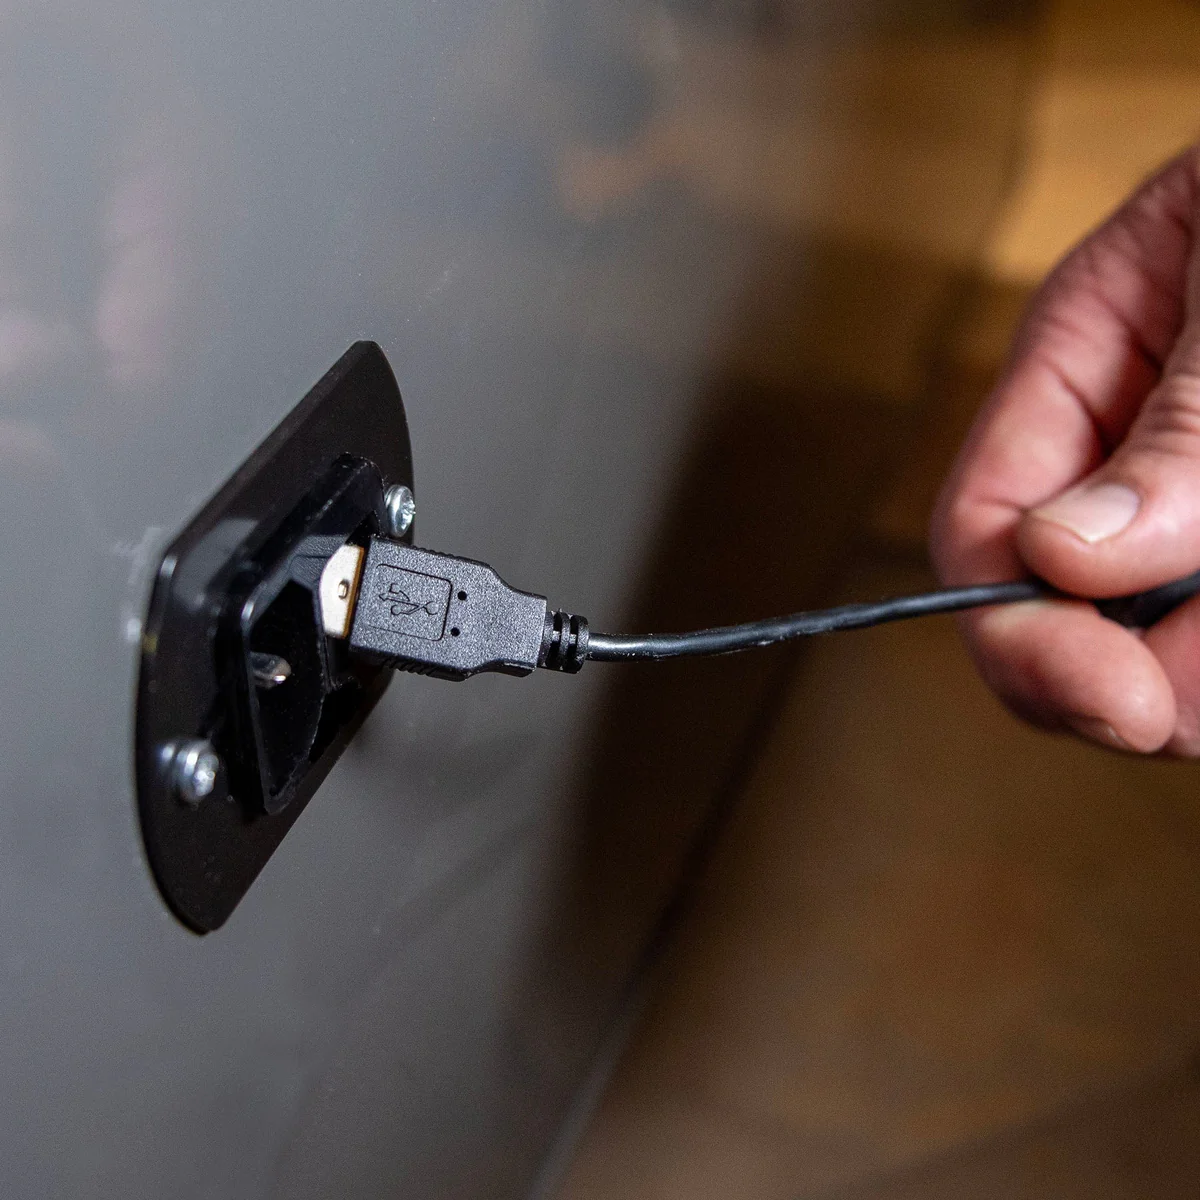
- Optional: Run USB Port through
- Plug in a device (like a dehumidifier or light) inside the safe to confirm everything works.
Safety Tips and Best Practices
- Go slow when drilling – Let the tools do the work.
- Always cut the fabric first – Prevents tearing or snagging.
- Use hand tools for final assembly – Avoid stripped screws.
- Pick the correct spacer – The outlet should fit tightly, with no wobble.
- Have a helper if possible – Keeps everything aligned while you work.
- Wear safety gear – Gloves and goggles are a must when drilling or handling metal.
- Be careful when moving the safe – Use a dolly or get assistance.
Download the Safe Power Outlet Kit Installation and Operation Manual PDF
Wrapping Up
Congratulations – you’ve successfully (hopefully!) installed an electrical outlet kit in your Liberty safe. This small upgrade unlocks a lot of utility: lights, dehumidifiers, internal chargers, and more – all safely contained within your secure space.
If you encountered any issues, don’t hesitate to ask for help. Mistakes happen – stripped screws, incorrect spacers – but they’re all fixable. The goal is a clean, safe, and functional install.
Now that your safe has power, enjoy the convenience. And if you’re considering more accessories or an upgrade, remember that A-1 Locksmith has you covered for everything related to safes and security. Shop online or visit a safe store near you today to pick up your outlet kit or other accessories. We even have safe installation services (including the powerkit) if you don’t want to install the kit yourself. Happy safeguarding!


